
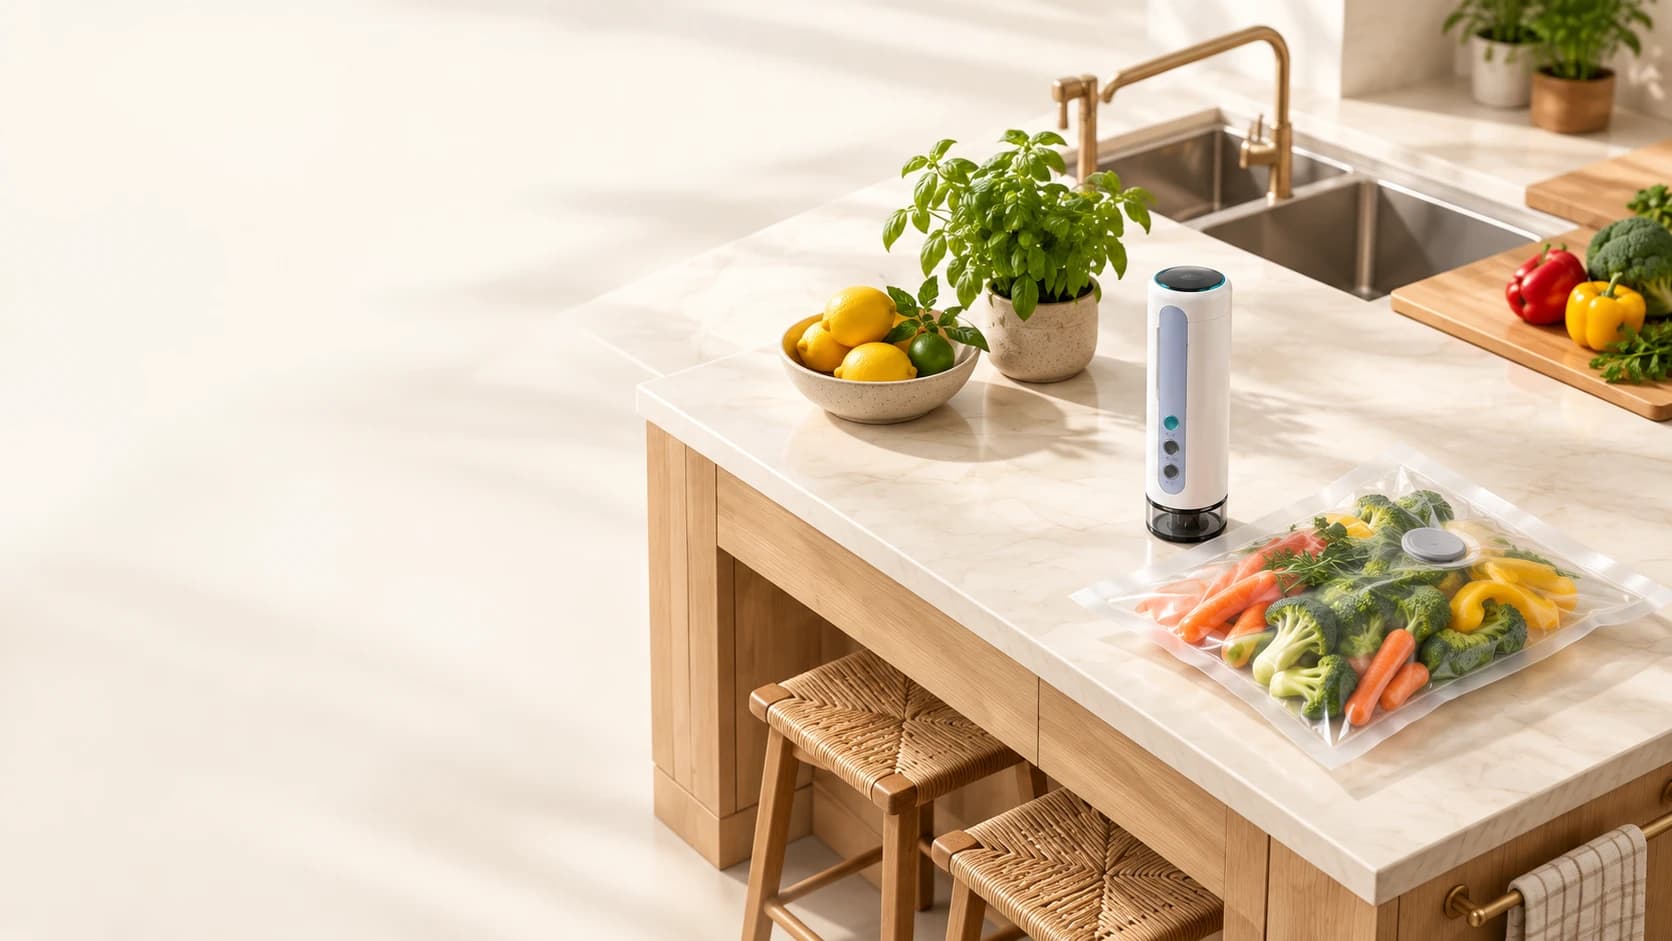
Vacuum.
Print.
Keep track.
Meet the handheld vacuum sealer
with a label printer built right in.
01Vacuum
Vacuum
at the valve.
Close the bag. Align the nozzle with its valve. Choose manual or automatic vacuum.
Airflow and bag movement are illustrative.02
Examples shown individually, not a batch-print feature.
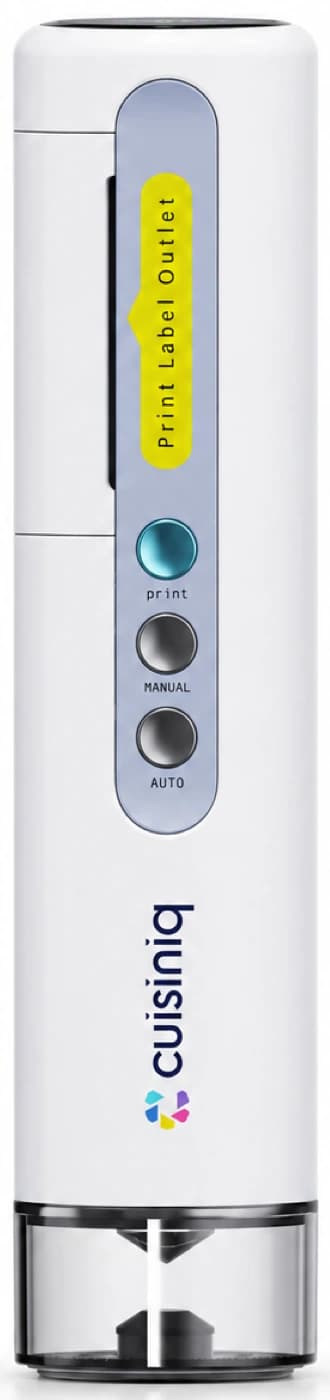
Print a label.
A date with the PRINT button.
Your own words with the App.
Examples shown individually, not a batch-print feature.
10:30 LABEL
01Fresh pastaPacked
2026-10-27
2026-10-27
02Coffee beansPacked
2026-10-27
2026-10-27
03Soup basePacked
2026-10-27
2026-10-27
04Garden herbsPacked
2026-10-27
2026-10-27
05Lunch prepPacked
2026-10-27
2026-10-27
06Packed todayPacked
2026-10-27
2026-10-27
Fresh pasta2026-10-27
Label text
 cuisiniq
Your print history
October 27, 2026Fresh pastaOct 27, 2026 · App
10:30Coffee beansOct 27, 2026 · App
10:31Soup baseOct 27, 2026 · App
10:32Garden herbsOct 27, 2026 · App
10:33Lunch prepOct 27, 2026 · App
10:34Fresh pastaPacked
2026-10-27
2026-10-27
App-connected workflow illustration.
Offline prints are not shown as automatically synced.
Small details.
Clear control.
PRINT MANUAL / AUTO USB-C
10:30 LABEL
Time. Labels. Battery.Multicolor battery arc inside the display.
Screen layout is illustrative.
Screen layout is illustrative.
A little order
goes a long way.
Made for your everyday.
From prep to next time.
Seal in your prep.
Close a compatible valve bag. Place the nozzle over its valve and choose manual or automatic vacuum.
See vacuum in actionGive it a name and date.
Use PRINT for the current date and time, or create a custom text label in the connected App.
Explore the deviceRemember what you printed.
Preview custom labels and revisit your App prints.
Explore the AppUse compatible valve bags and 52 × 30 mm thermal labels. App history includes App prints only.
A few clear answers.
Use a compatible one-way valve bag. Close the zipper fully, then align the bottom nozzle with the valve. Choose MANUAL or AUTO on the device. Cuisiniq does not heat-seal an open bag edge.
No. Printing is a separate action. A short press of PRINT produces the current date and time. Use the connected App for custom text labels.
Create custom text, preview a label, and view App print records. The interface on this page is an illustration. It does not imply that offline button prints automatically sync to the App.
Use the dedicated 52 × 30 mm thermal adhesive labels. Thermal printing does not use an ink cartridge.
The existing product catalog contains bundle details. For questions about an order, use the support information supplied with your order confirmation and the product manual included with your device.